This guide explains how to apply backfill as part of the mining sequence in StopeX. The input parameters are explained in a separate post, but are fairly standard for elastic or in-elastic evaluations.
StopeX allows up to 20 separate backfill ‘rules’ each rule can be used to define different types of fill properties or the timing/sequence of fill placement. For this example we will apply a cemented pastefill or rockfill in primary and secondary stopes.
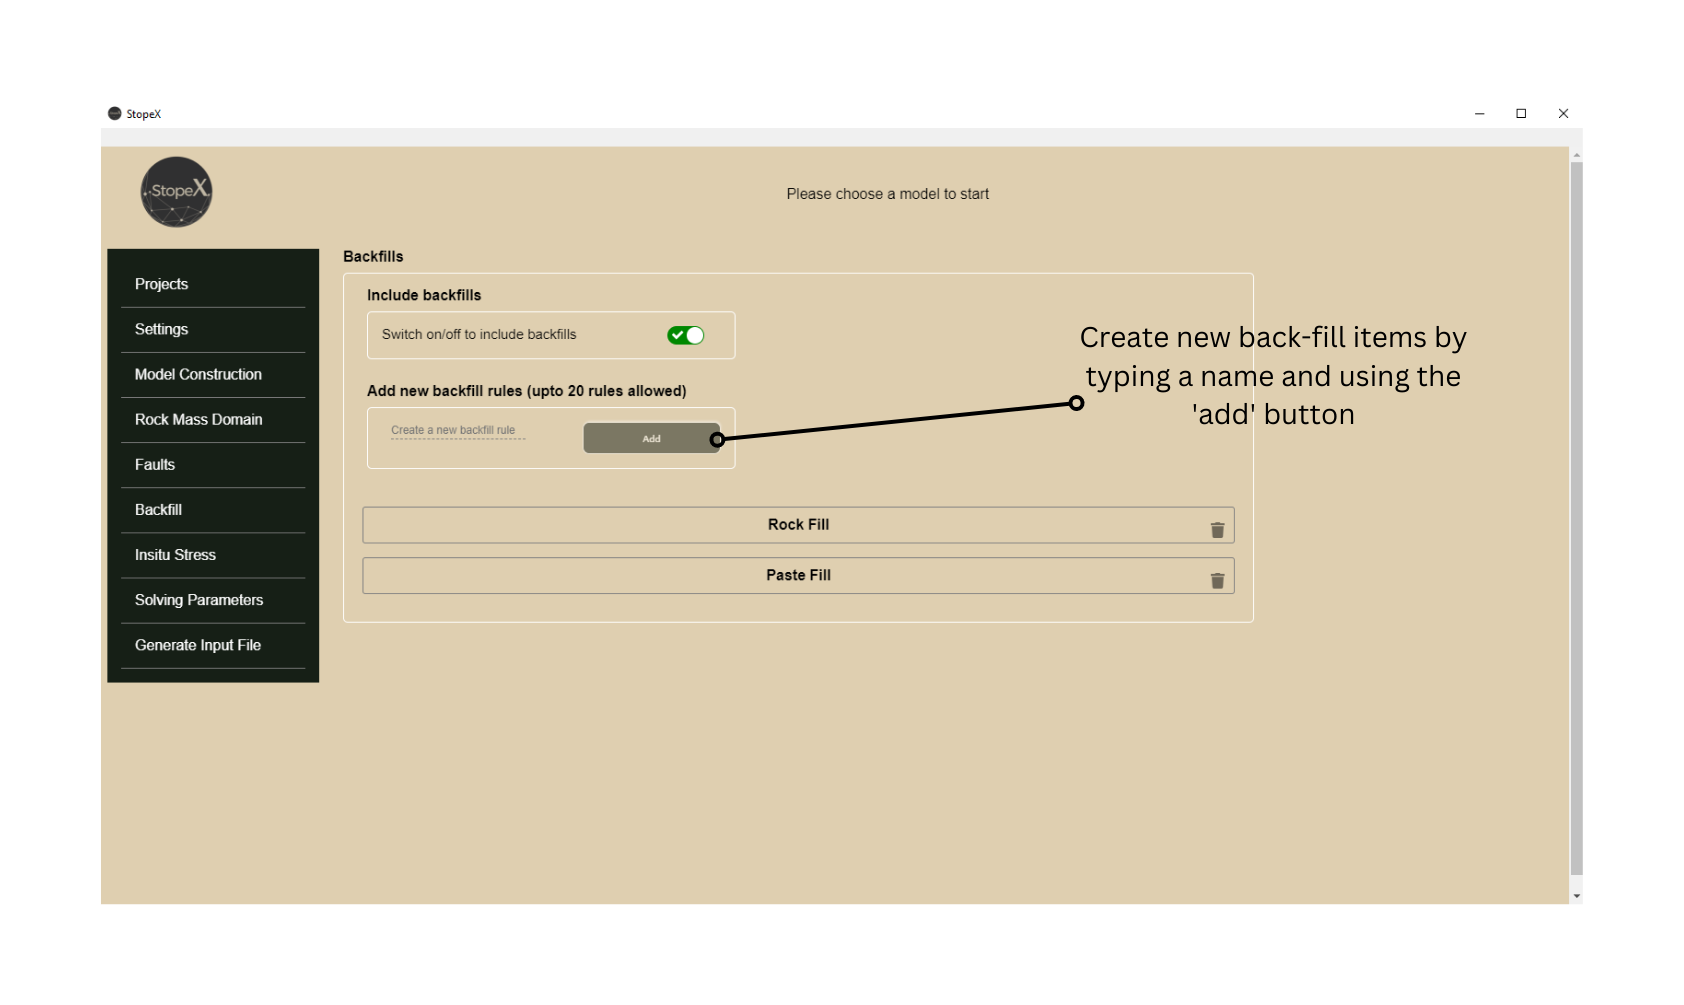
To start, we can create the two separate backfill rules that we will need for this scenario
Next, we will create the backfill geometry files, the files should be solid wireframes matching the excavation geometries that should be filled
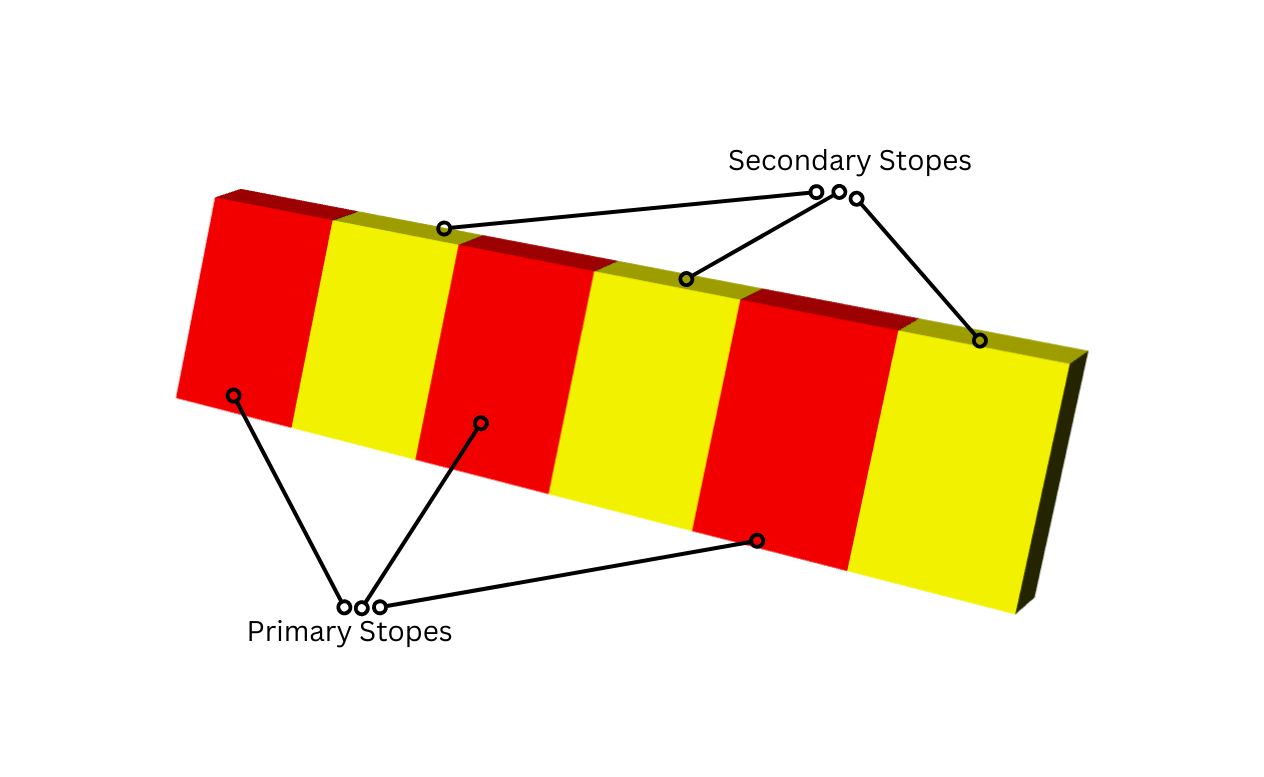
In this case the Primary stopes are exported to an stl file called ‘PasteFill.stl’ and the secondary Stopes are exported as ‘RockFill.stl’
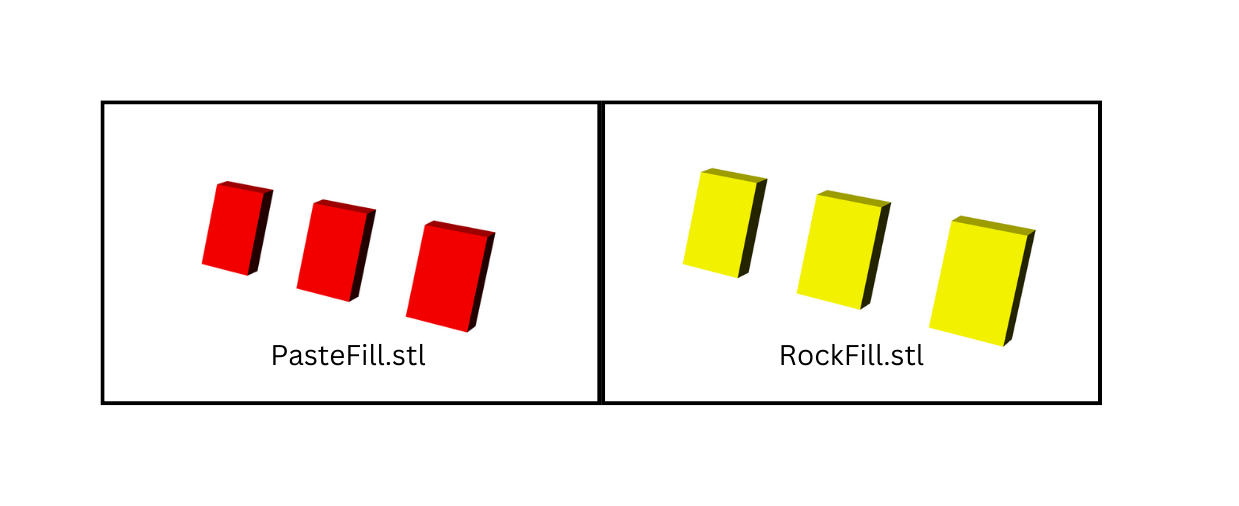
Next we need to import the geometries and define the fill sequence in StopeX.
For this example we will set the sequence up so that pastefill is placed ‘immediately’ in the step following extraction. This means that if a stope is extracted in step 1, the fill will be placed in step 2.
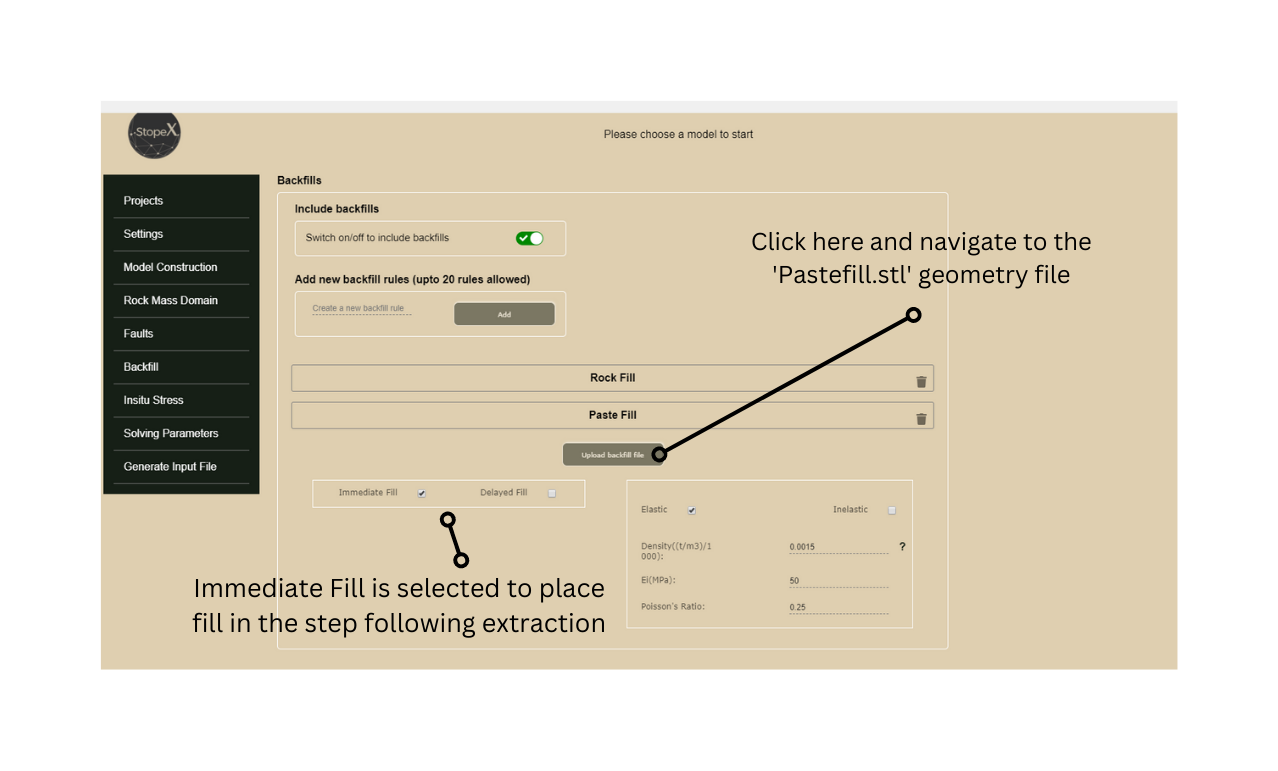
For the Rockfill, we will place fill with a 2 step delay, meaning that a secondary stope extracted in step 4, would be filled in step 6. To do this, select ‘delayed fill’ in the stopeX interface to open the backfill options, then select the option to ‘Delay by number of mining steps’ and set the delay to ‘2’.
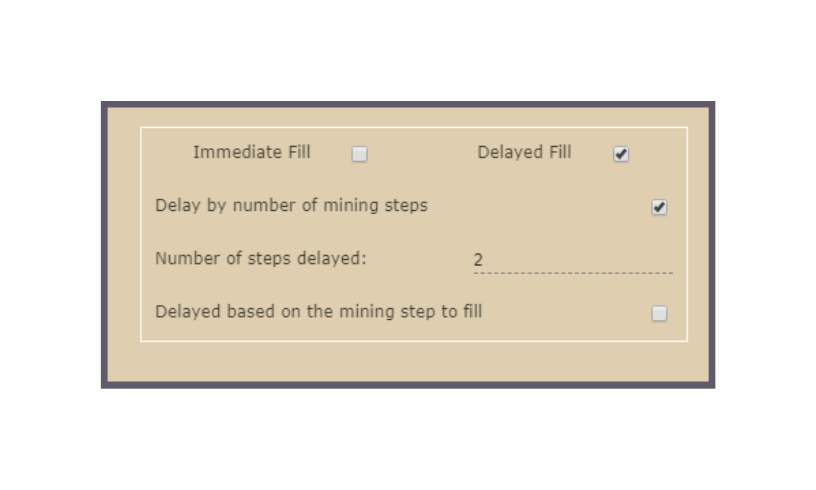
Other options for fill sequencing include:
Instant Fill: set a step delay of ‘0’ to place fill in the same step as extraction, useful when large historic excavations are taken in a single step.
Delay based on mining step to fill: specify a single step during which a fill geometry is backfilled. For example when incremental blasting shapes are excavated over a number of steps, and fill is placed following completion of the whole stope.